Cart is empty
Bulk Product Listing - Add features
Add Product Features in Bulk Listing
Adding detailed and accurate features to your products is a crucial step in creating a successful listing on Fyaril. These features, such as style, color, occasion, and material, act as filters and search keywords for customers, helping them find exactly what they're looking for. This guide will walk you through the third step of the bulk product upload process: adding features to all your products efficiently.
Video Tutorial
For a visual walkthrough of the process, please watch our detailed video tutorial below.
Step-by-Step Instructions
After you have uploaded the images for your products, the next step is to assign their features.
Part 1: Navigating to the Features Page
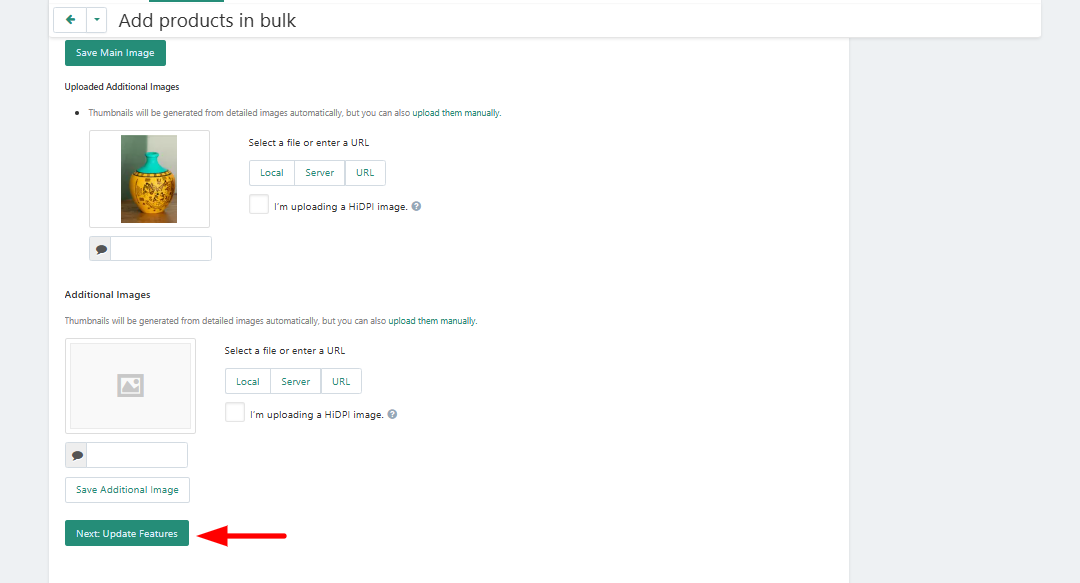
- From the 'Images' page (Step 2), scroll down to the bottom.
- Click the "Next: Update Features" button. This will take you to the 'Features' section (Step 3).
Part 2: Assigning Features to Each Product
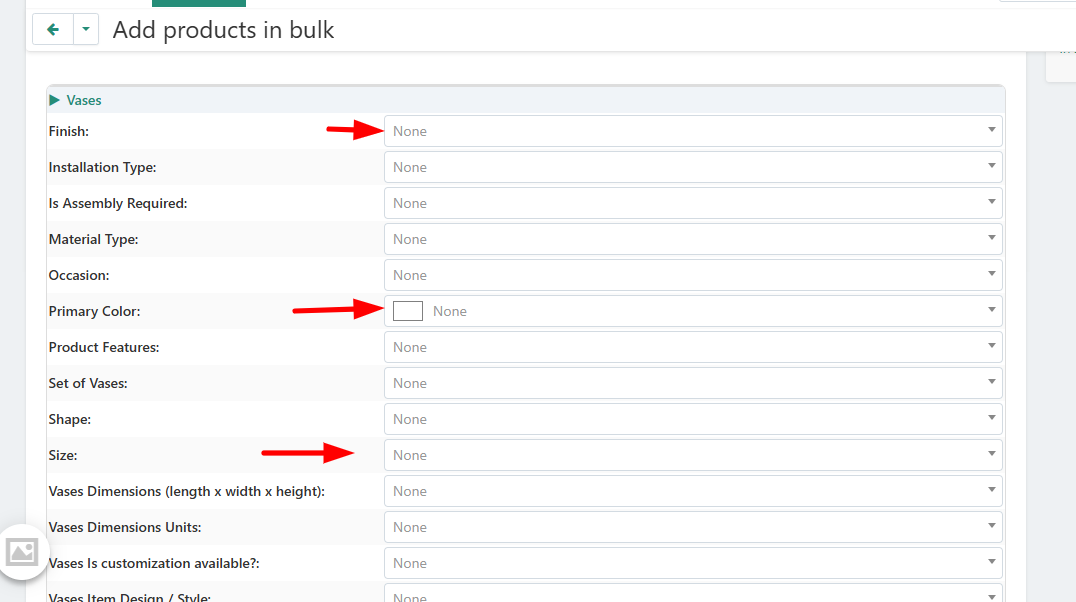
On the Features page, you will see a list of available attributes. You must complete these for each product you are adding. Each product is represented by a tab at the top of the features list.
- Start with the first product tab selected.
- Go down the list of features provided (e.g., Style, Assembly Required, Occasion, Primary Color, etc.).
- For each feature, click the input field or dropdown menu and select the value that best describes your product. You can type in the field to search for specific options.
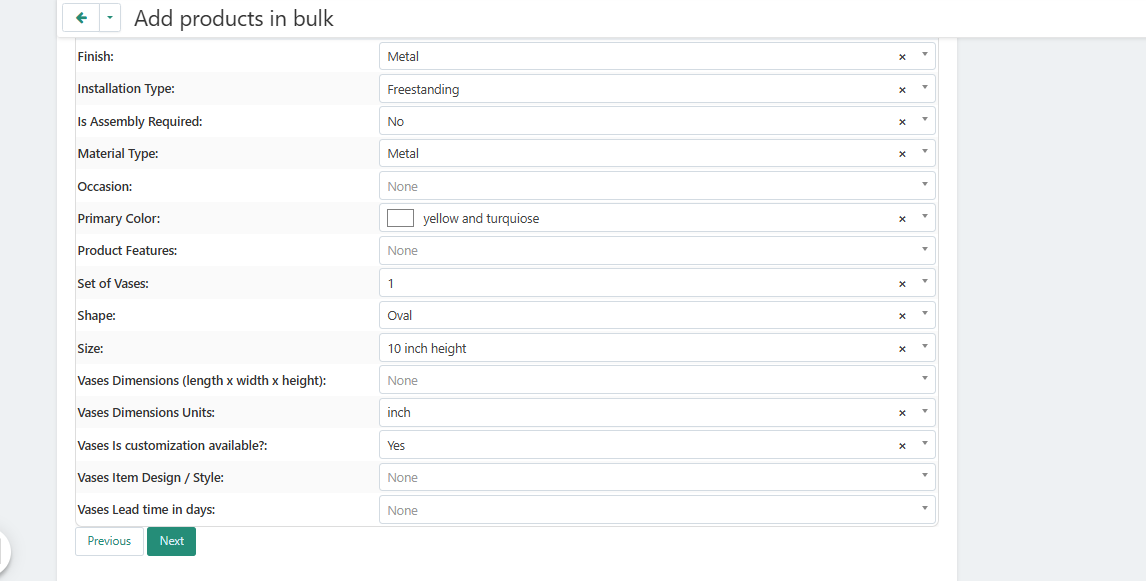
- Once you have completed all the relevant features for the first product, click on the tab for the next product.
- Repeat the process of selecting the appropriate features for all the products in your bulk upload.
Important: Providing comprehensive and accurate feature information is essential. It directly impacts your product's visibility in search results and filtered navigation, making it easier for customers to discover your items.
Completing the Process
- After filling in the features for all product tabs, scroll to the bottom of the page.
- Click the "Next" button to proceed to the next stage, 'Packaging Info'.
Frequently Asked Questions (FAQ)
1. What should I do if the perfect feature option for my product isn't listed?
The feature options are standardized across the platform to provide a consistent experience for buyers. Please select the closest and most relevant option available. If you feel a critical category is missing, we recommend providing feedback to our support team via the 'My Seller' > 'Message Center'.
2. Do I need to fill out every single feature for all my products?
It is highly recommended to fill out as many features as accurately as possible. The more details you provide, the higher the chance a customer will find your product through searches and filters. Some fields may be mandatory to proceed, while others are optional but beneficial.
3. Can I edit the features after moving to the next step?
Yes. You can easily navigate back to previous steps using the progress tracker at the top of the 'Add products in bulk' page. Simply click on the 'Features' step (number 3) to return and make any necessary changes before you finalize the product upload.
Contact us
- Reallinjen 22, Lund
- +46-763356363
- +46-760211456
- Mon-Sun 9.00 - 18.00
- info@fyaril.com
- View on map
About us
Business Account
Customer Service
Seller Zone